Welcome to a new series of posts I’m calling Weekend DIY. For the past eight months, we have been renovating our new home. I am NOT a diy expert. As a matter of fact, I am not a carpenter, painter, or cabinet maker. However, I do enjoy the process. My goal is to encourage and inspire you as you attempt some Do-It-Yourself projects around your home.
Batten Board DIY
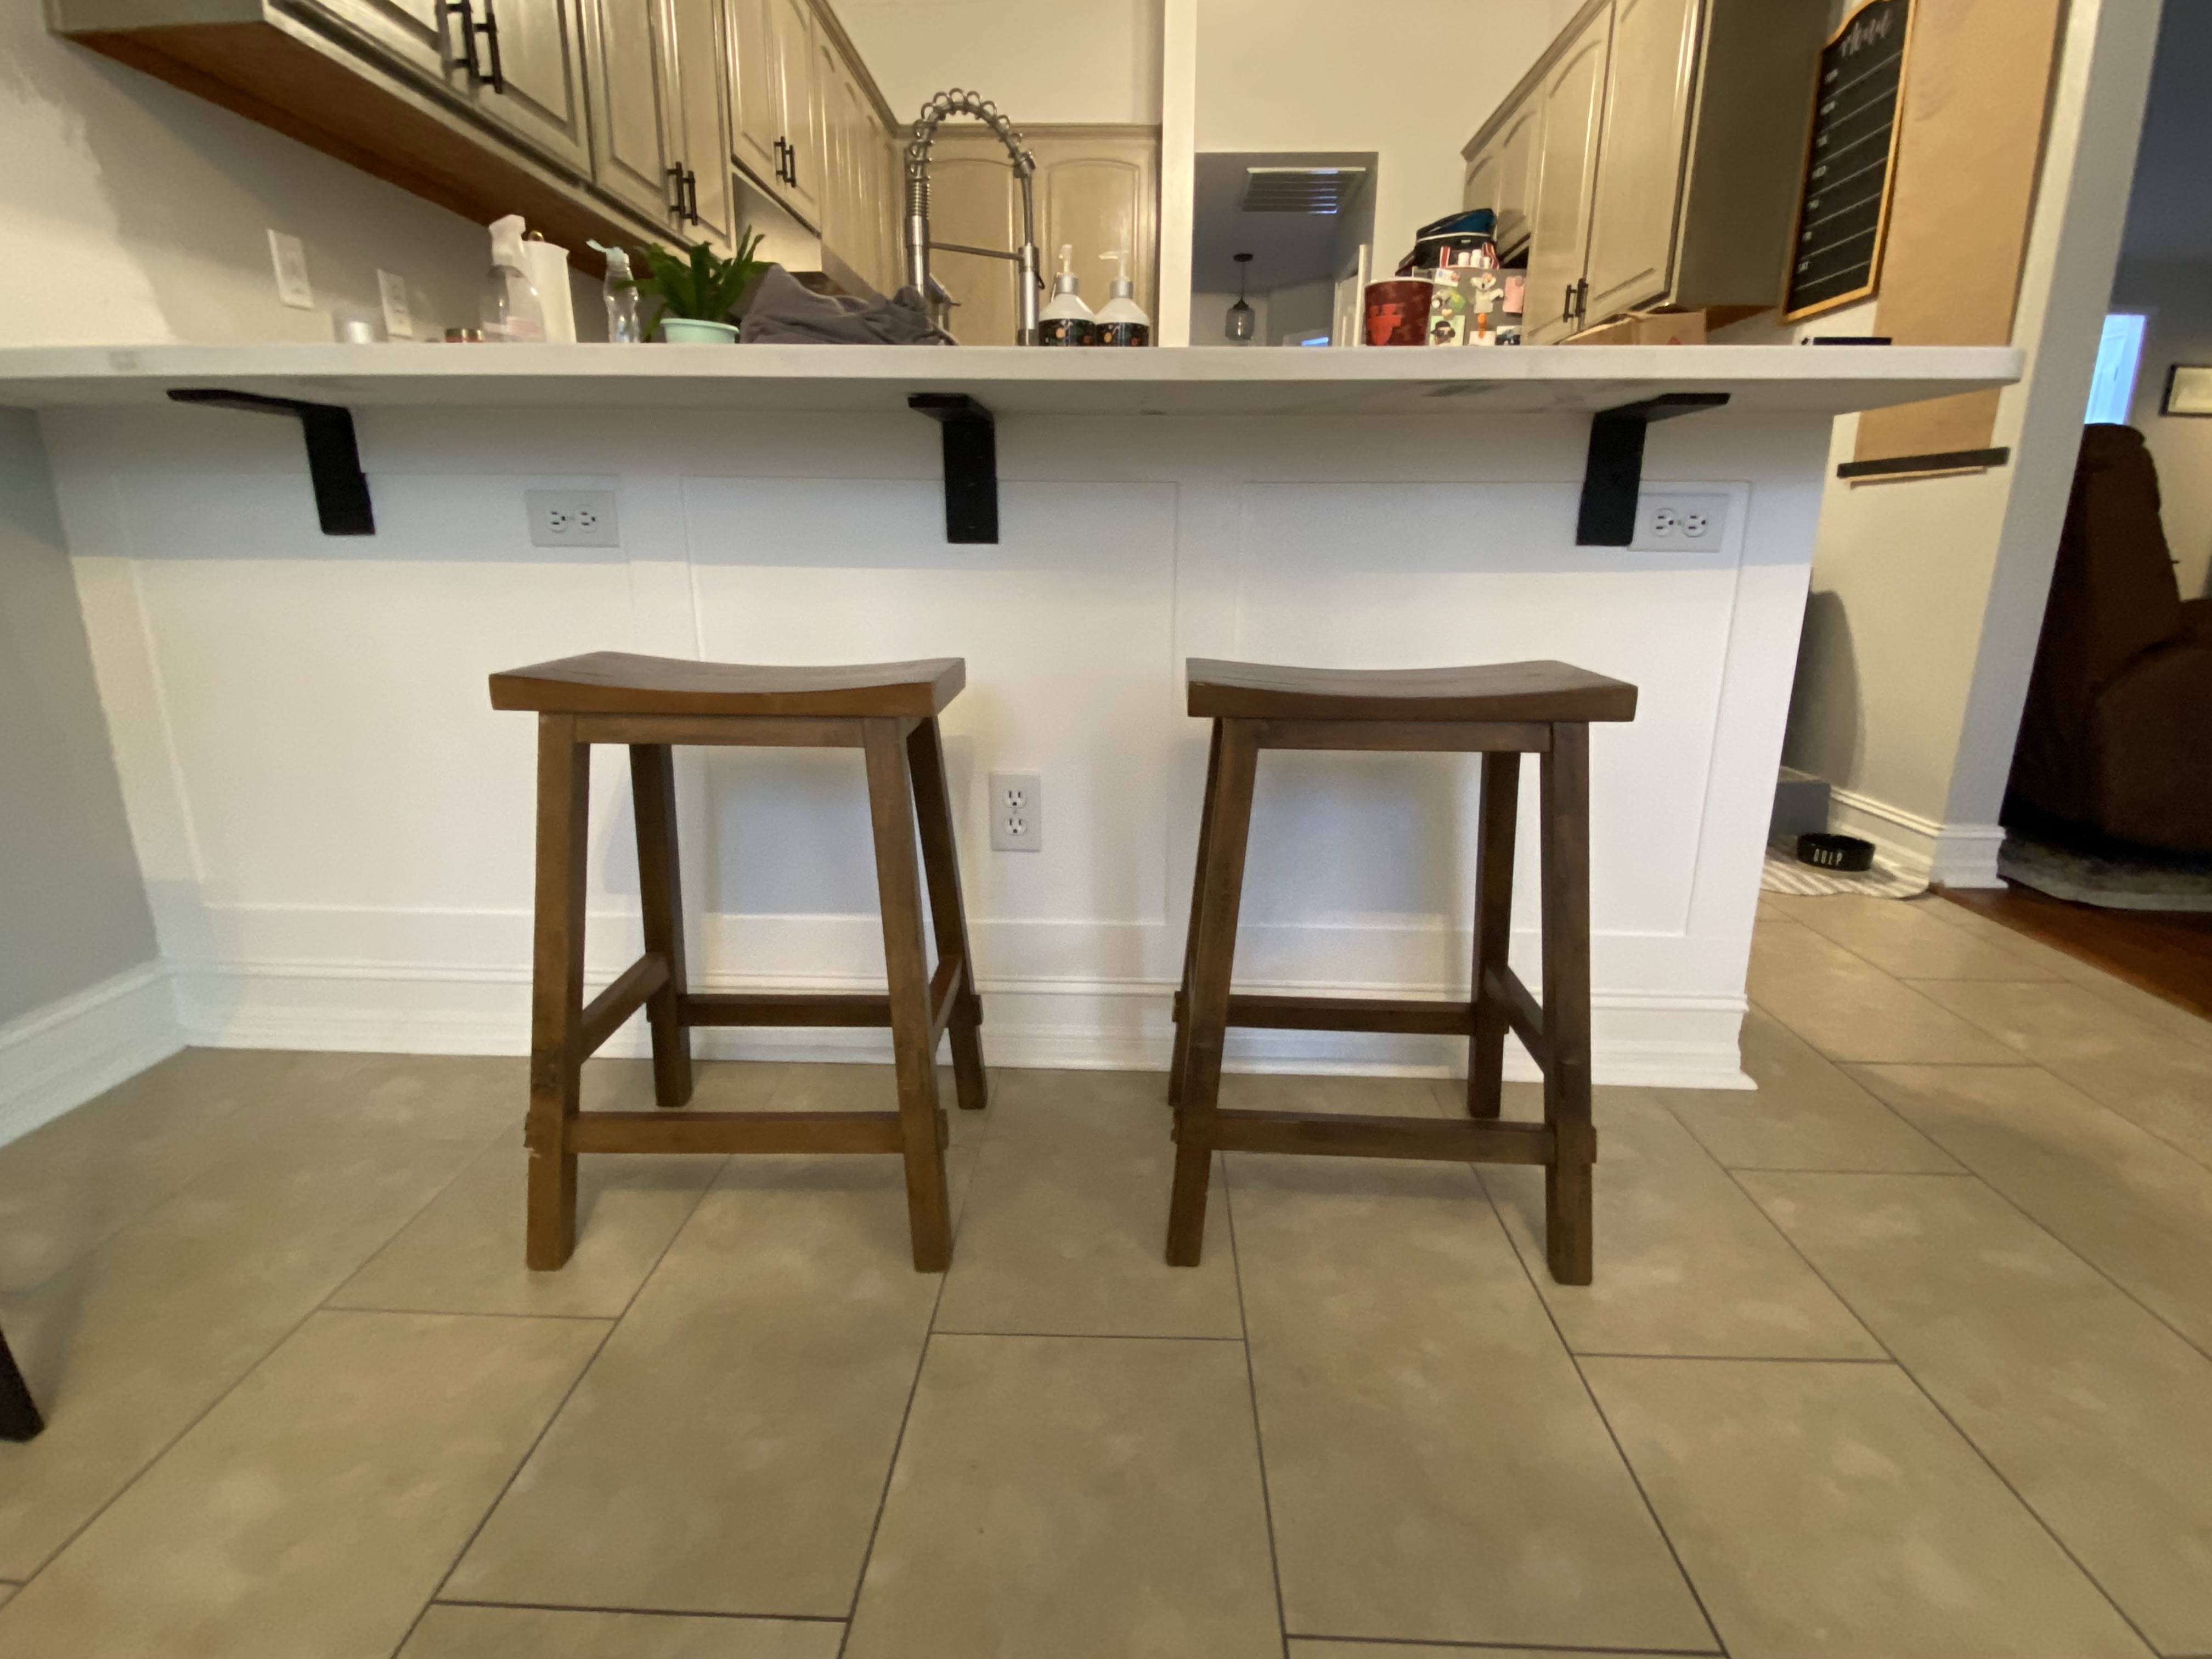
Last week ,we spent some time with our daughter and son-in-law in Florida. With our daughter expecting their first child, she asked if I would mind helping with a few projects. After their new countertops were installed, their eat-in bar area was unfinished and needing some character as noted in the photos. I suggested batten board.


Design Considerations
They wanted to keep their existing baseboard. Consequently, I had to choose a material depth that would match. I chose 1/4″ MDF as material for the batten board. I like the way it paints in situations like this.
A traditional batten board or any shaker style design the rails (horizontal pieces) are traditioanlly wider than the stiles (vertical pieces). However, their desire was to have both horizontal and vertical pieces the same width.
Another design consideration is to determine an equidistant location for the stiles (vertical pieces).
Dimensions
For this project, the lenght of the space underneath the counter measured 88 1/2″ wide and 35″ tall. The end cap measured 5 1/2″ wide and 35″ tall.
Material & Tool List
- 2′ x 4′ One Quarter Inch MDF
- Tape Measure
- Small level
- Spackling or filler
- Putty Knife
- Nail gun (liquid nail is an option if a nailer is not available)
- 1″ finish nails
- Sander or sanding block
- Table Saw
- Miter Saw
- A circular saw could also be used in place of a table saw and miter saw
Cut List
- Using a table saw Rip MDF into 3″ wide strips
- This is where a table saw is handy to set the fence at 3″ and rip the piece all at once.
Installataion
- Once the MDF was ripped into the appropiate size, I began by installing the rails (horizontal pieces). For this project, there were brace supports along the top I had to work around. Using a tape measure, I measured the distance between each support and cut the MDF to fit.
- Then I installed the bottom rail. Because I was being frugal, I only purchased a 2’x4′ sheet of MDF. Obviously, this would not span the entire length of the bar area. As a solution, I installed the piece from the end cap moving toward the corner of the wall. Then I measured the remaining gap. Using a miter saw I cut a piece to fill the gap.
- I pre-detremimed the stiles (vertical pieces) would be on 29 1/2″ centers based upon where we decided the design would look the best.
- Using a pencil I marked the center point of each stile, measured and cut them to fit. Then installed each one.

5. We decided to continue the batten board on the end cap. However, my daughter wanted it to look more like a column. So I ripped MDF into widths of 1 1/2″.
6. I installed the 3″ wide rails, then measured, cut, and installed the stiles.

7. With the batten board installed, I filled all the holes with filler. I actually used drywall mud, since I was already repairing drywall. But spackling would work perfectly as well.
8. After dry, I sanded the filler and caulked all of the inside and outside edges of the batten board.

9. After sanding and waiting for the caulk to set it was time to paint. I used a 6″ roller and did my trim painting with a 2 1/2″ angled brush. We used a semi-gloss paint.
The Finished Product

